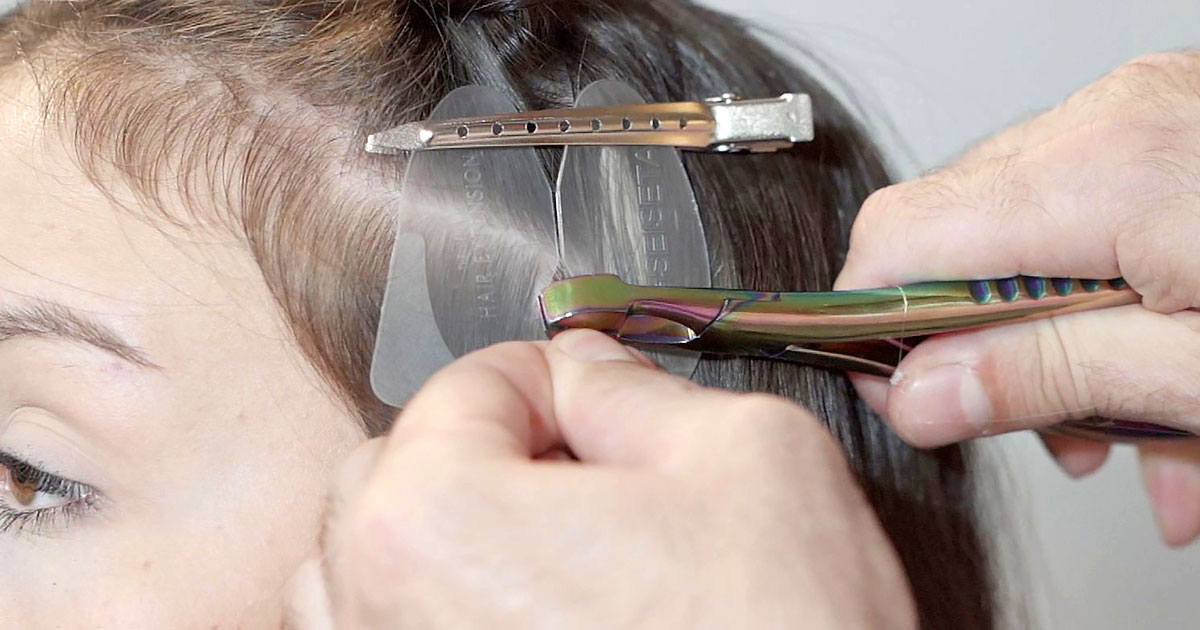
The most popular and traditional hair extensions system is the hot fusion keratin bond, a system that only a professional hairstylist can apply on your natural hair. But which are the basic steps to achieve a perfect volumized, colorful and extra length head?
Hair consultation: find the hot fusion strands ideal for the client
The first step to satisfy a client is to listen to his request: Does he want longer hair? Does he need more volume? Or does he just dream of a rainbow color gradient? Once you have cleared all that he wants you should take attention to his natural hair to decide which is the most suitable application system to enhance the head, in this case we are talking about keratin hot fusion hair extensions 100% Remy.
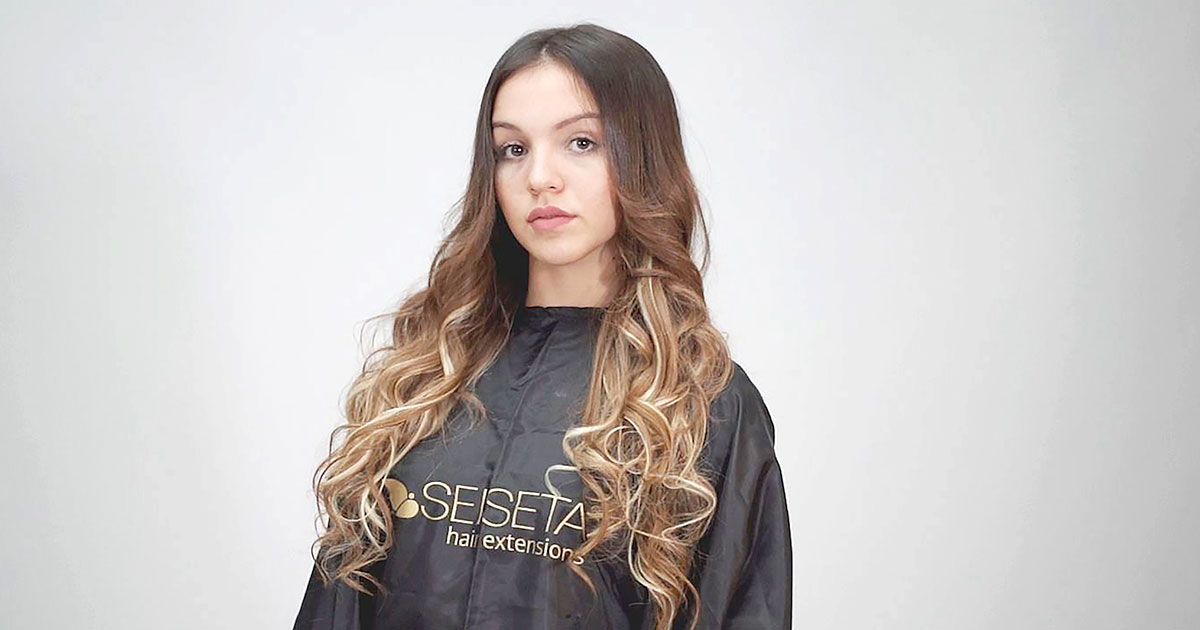
How to prepare natural hair for hot fusion hair extensions application
A perfect application of any kind of hair extensions always starts from a good preparation of natural hair with products created properly for this purpose to guarantee an amazing result but, most of all, to preserve natural hair health.
Before applying keratin hair extensions you need to prepare the client's hair normalizing excessive scalp sebum to keep hair clean for a long time. A shampoo such as the SEISETA Clarifying Daily Shampoo helps also to open hair cuticles to ensure optimal keratin penetration, and also make hair less oily. After a deep shampoo, rinse thoroughly and avoid using conditioner or any other kind of mask or oily product. Blow-dry hair and don’t use any flat iron or hair curler because they let cuticles close again!
Application of Hot Fusion keratin hair extensions
STEP 1 - Hair separation
It’s extremely important for a professional result to divide natural hair correctly as in the following steps:
- Section hair in a T-part from the forehead down to the middle of the head, then part the hair on the sides, from ear to ear.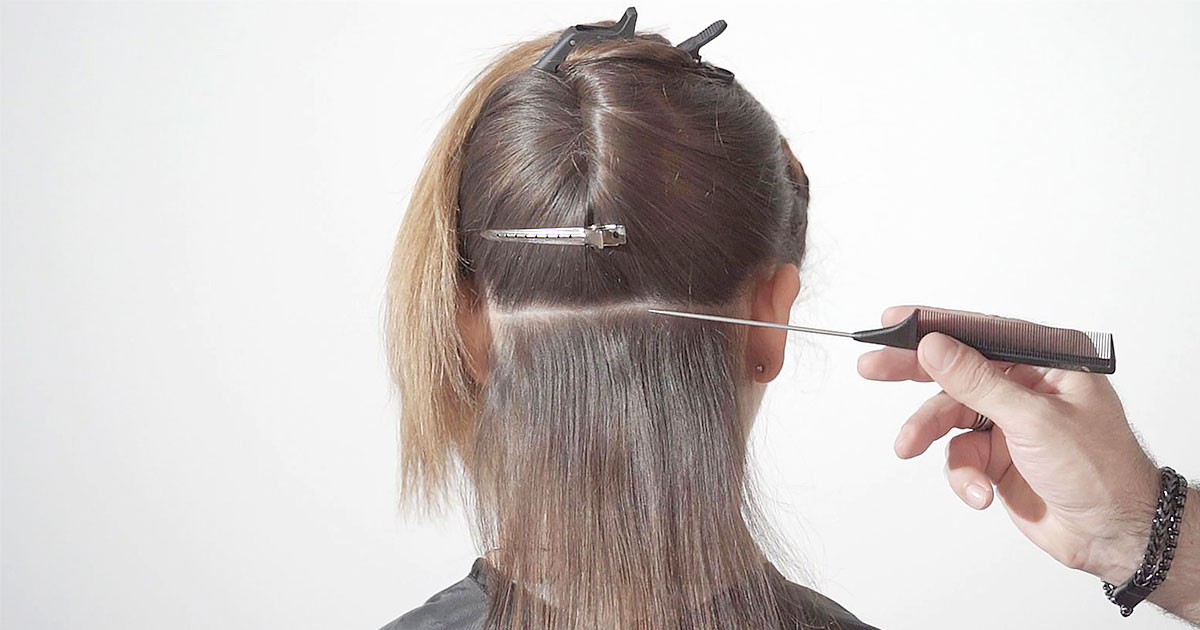
- Trace a horizontal line on the nape, leaving 2 or 3 cm from the perimeter hairline
- Use a tail comb to select the same amount of hair as the extension to apply
- Select a strand of the client’s hair, making sure to give it a rectangular shape being as accurate as possible to prevent pulling
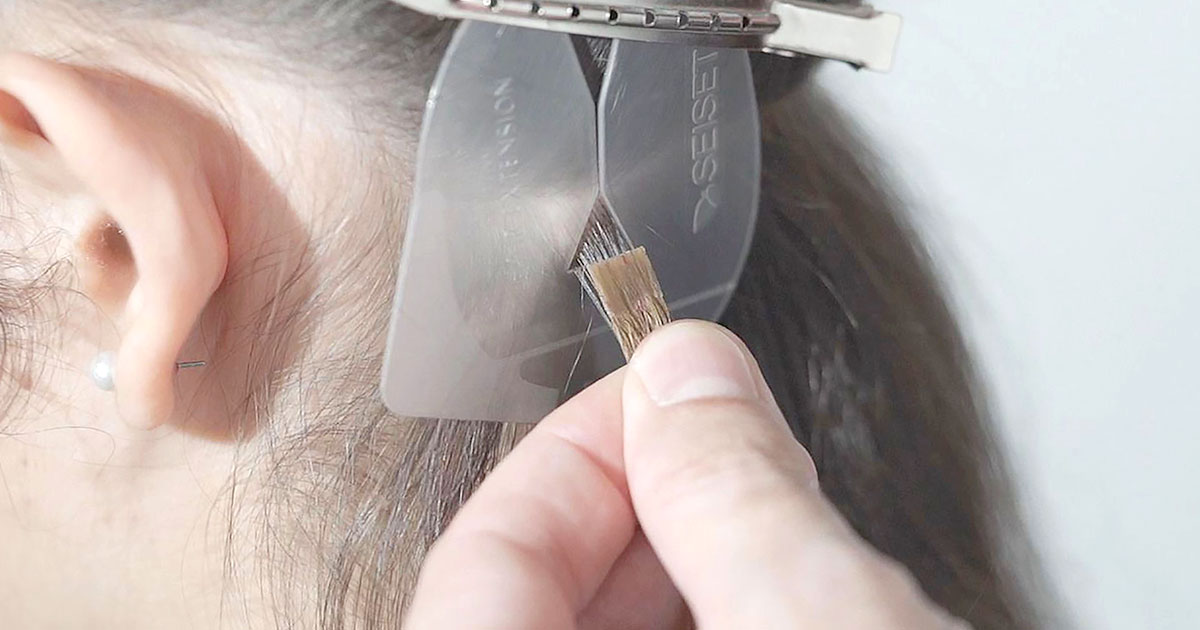
- Use the protective shield (as SEISETA DC01) to isolate the strand.
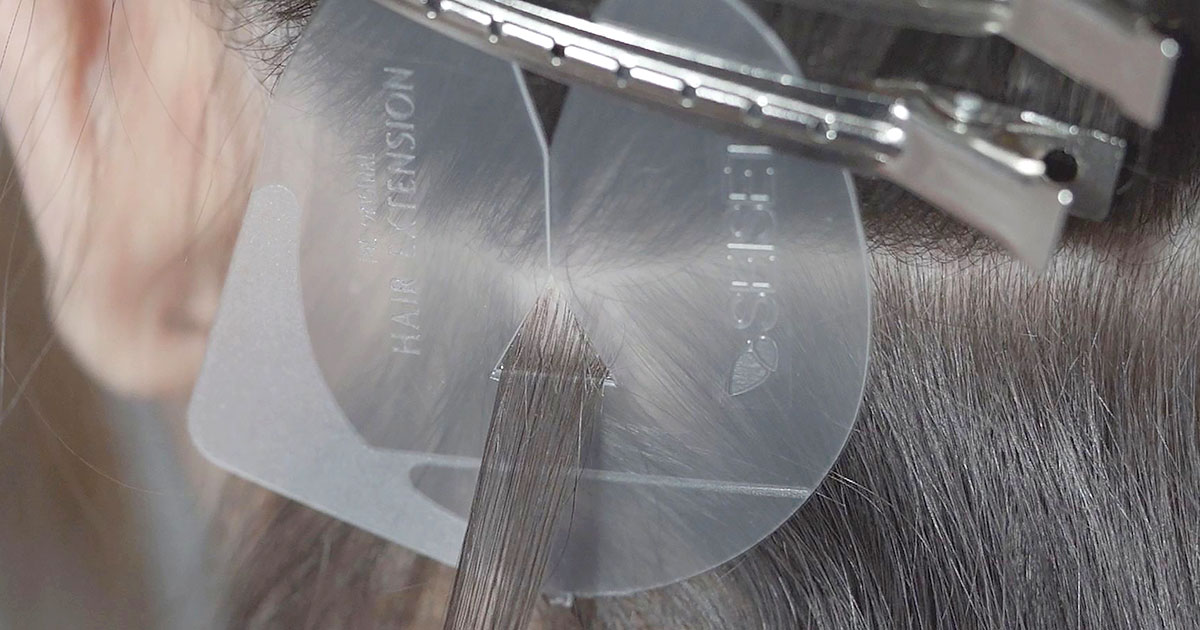
- Insert the strand into the shield and secure it with a metal clip.
STEP 2 - Keratin strands application - Installation process
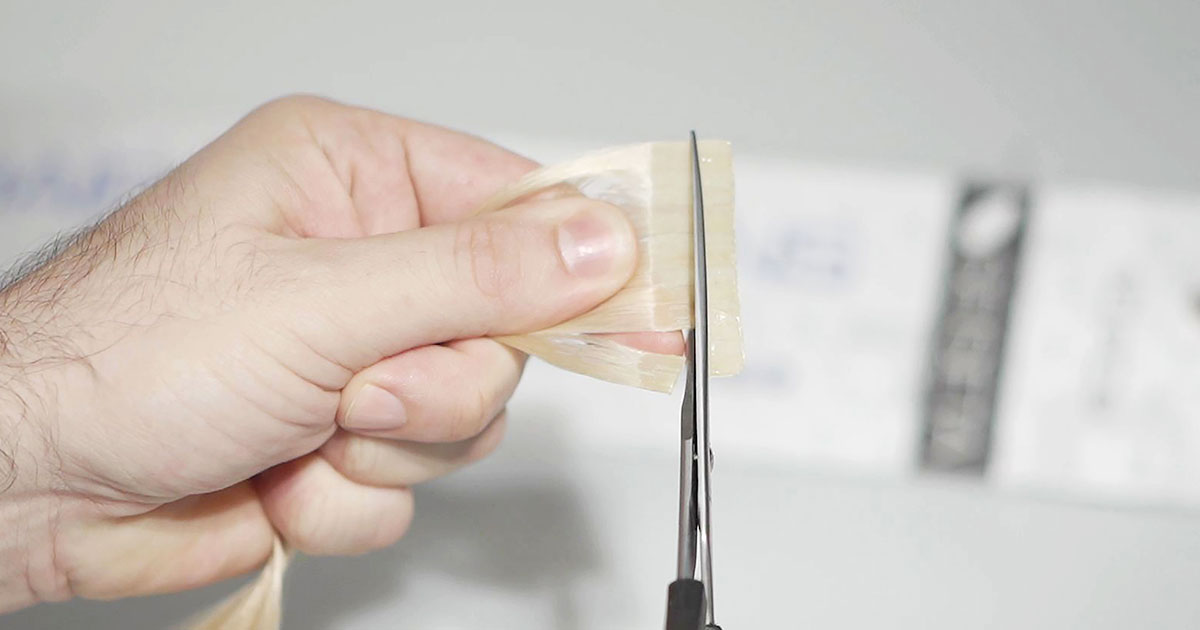
- Take out the strand out of the pack and trim it off the top to divide the extensions strands
- Place the extension on top of client’s natural strand
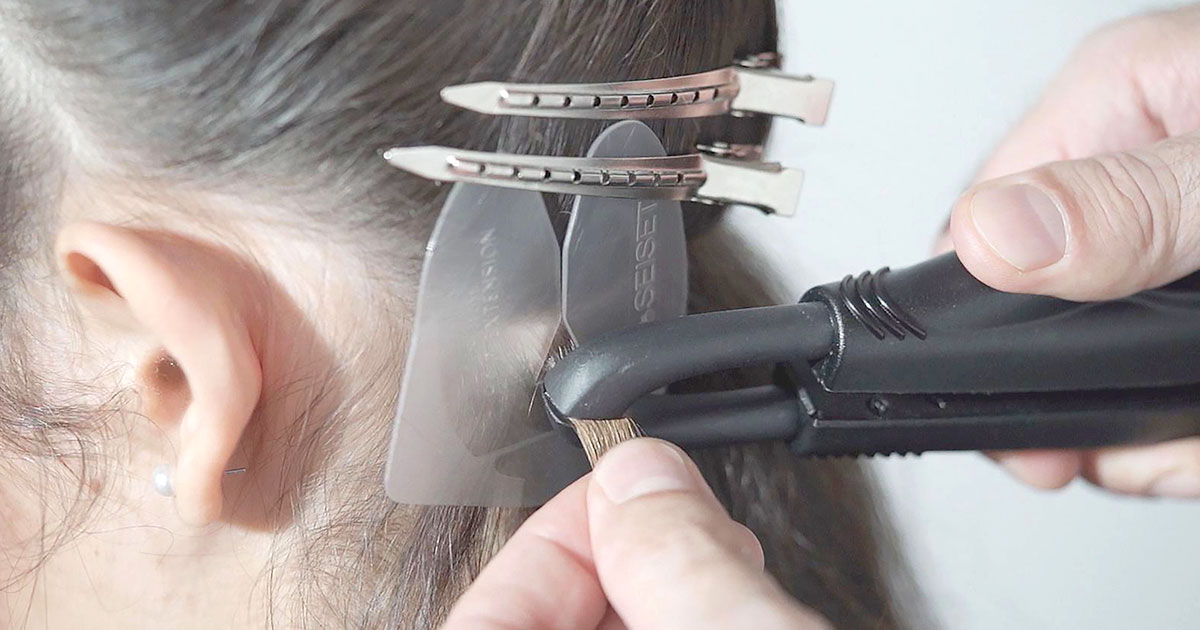
- Now use the SEISETA HOT FUSION EVO (2002HFE) heat connector set to 175 °C (347 °F). Press until the keratin has melted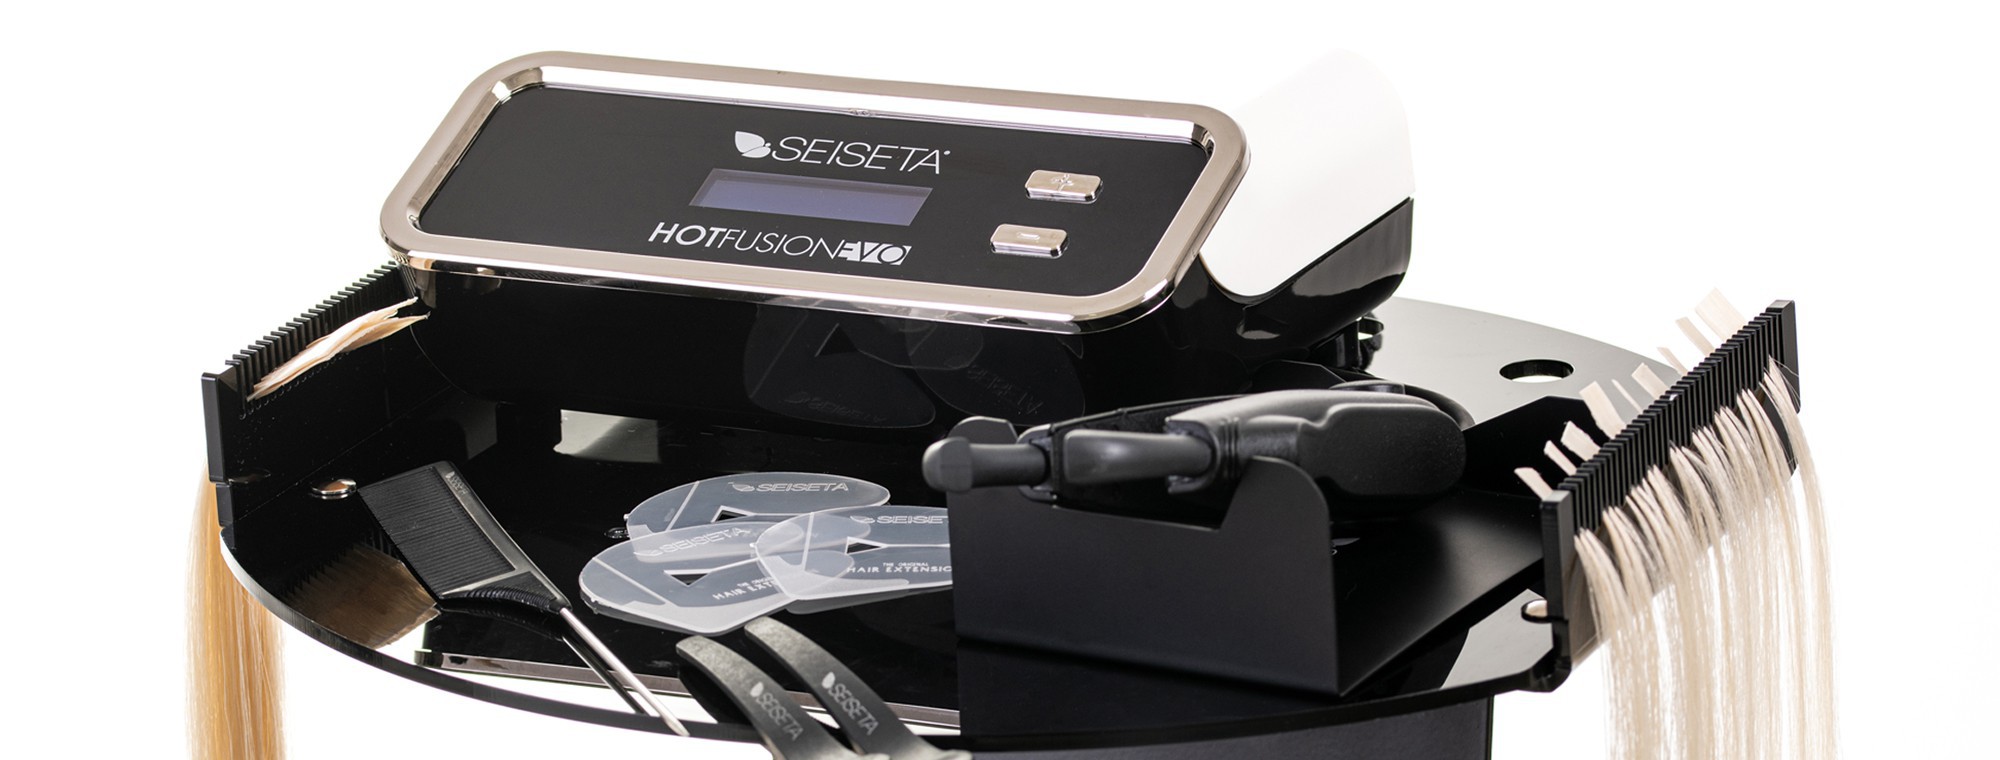
- Make sure that the keratin melts completely and bonds with the client’s hair to ensure optimal hold.
- Fold the keratin bond tip inward.
- Press with your fingers. Now, use an hair extension installation pliers (as SEISETA PM60) and press down on the keratin to obtain a flat and thin strand
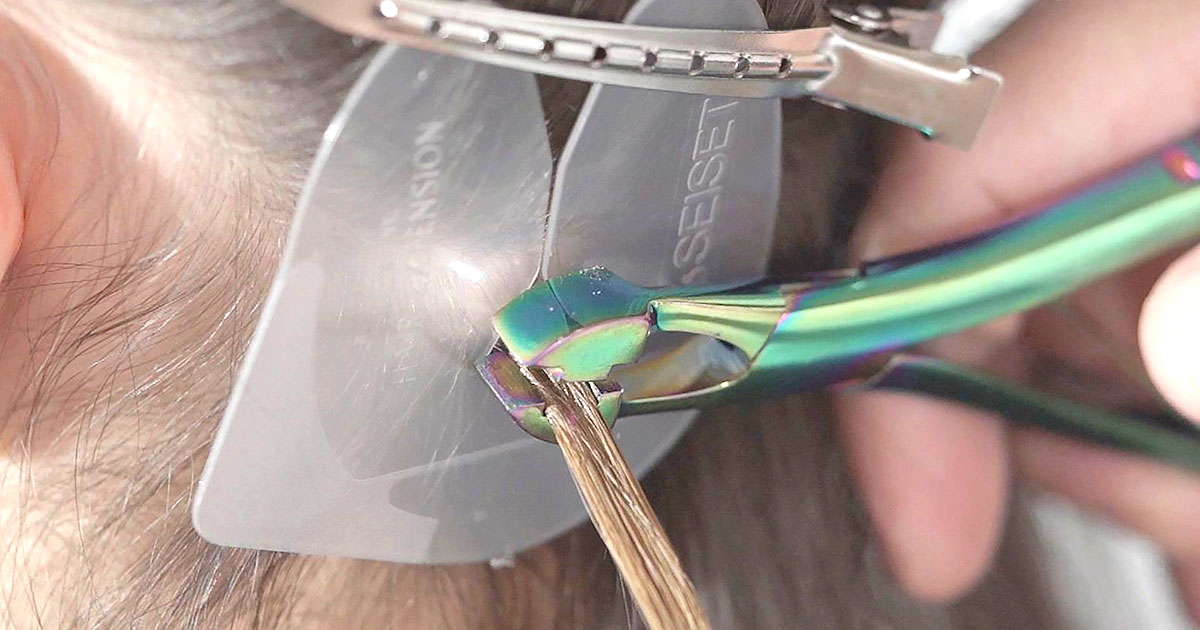
- Continue in the same way until the section is complete.
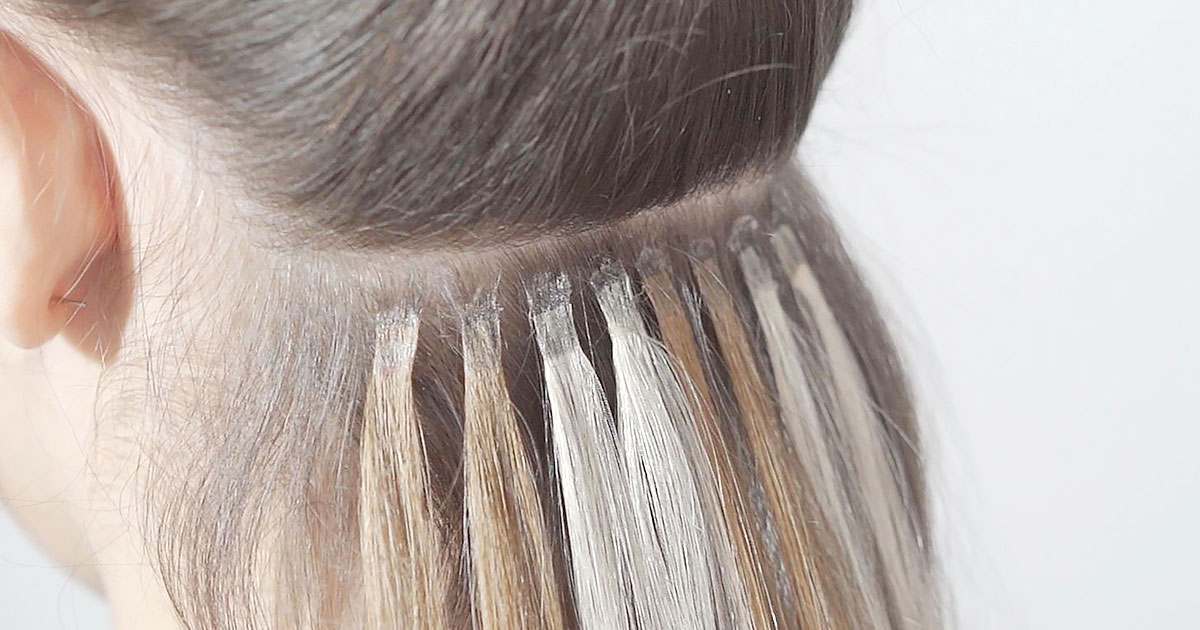
STEP 3 - The perfect haircut to reach a natural look
Once you accomplish a strand application it’s time to proceed with the haircut. It’s suggested to use hair sharper instead of scissors to create the most natural final result.